Showing posts with label DIY. Show all posts

Friday, May 15, 2015

Tutorial: Double-Pointed Needle Keeper


Have you seen these nifty needle holders or "cozies"? After seeing a few pop up on various Instagram feeds and knitting podcasts, I decided to try to make one. Here's what I came up with for my 6-inch double-pointed needles. If your needles are longer or shorter, just add or subtract an inch from the length (8.5 x 4.5 for 7-inch needles, 9.5 x 4.5 for 8-inch needles, etc.)

FINISHED MEASUREMENTS: approximately 7 x 2 inches

MATERIALS:
2 pieces of fabric 7.5 x 4.5 inches: one lining and one exterior
2 sets of snaps (I use KAM snaps)
snap press
awl
optional: label & fabric interfacing of your choice
1/4 inch seam allowance


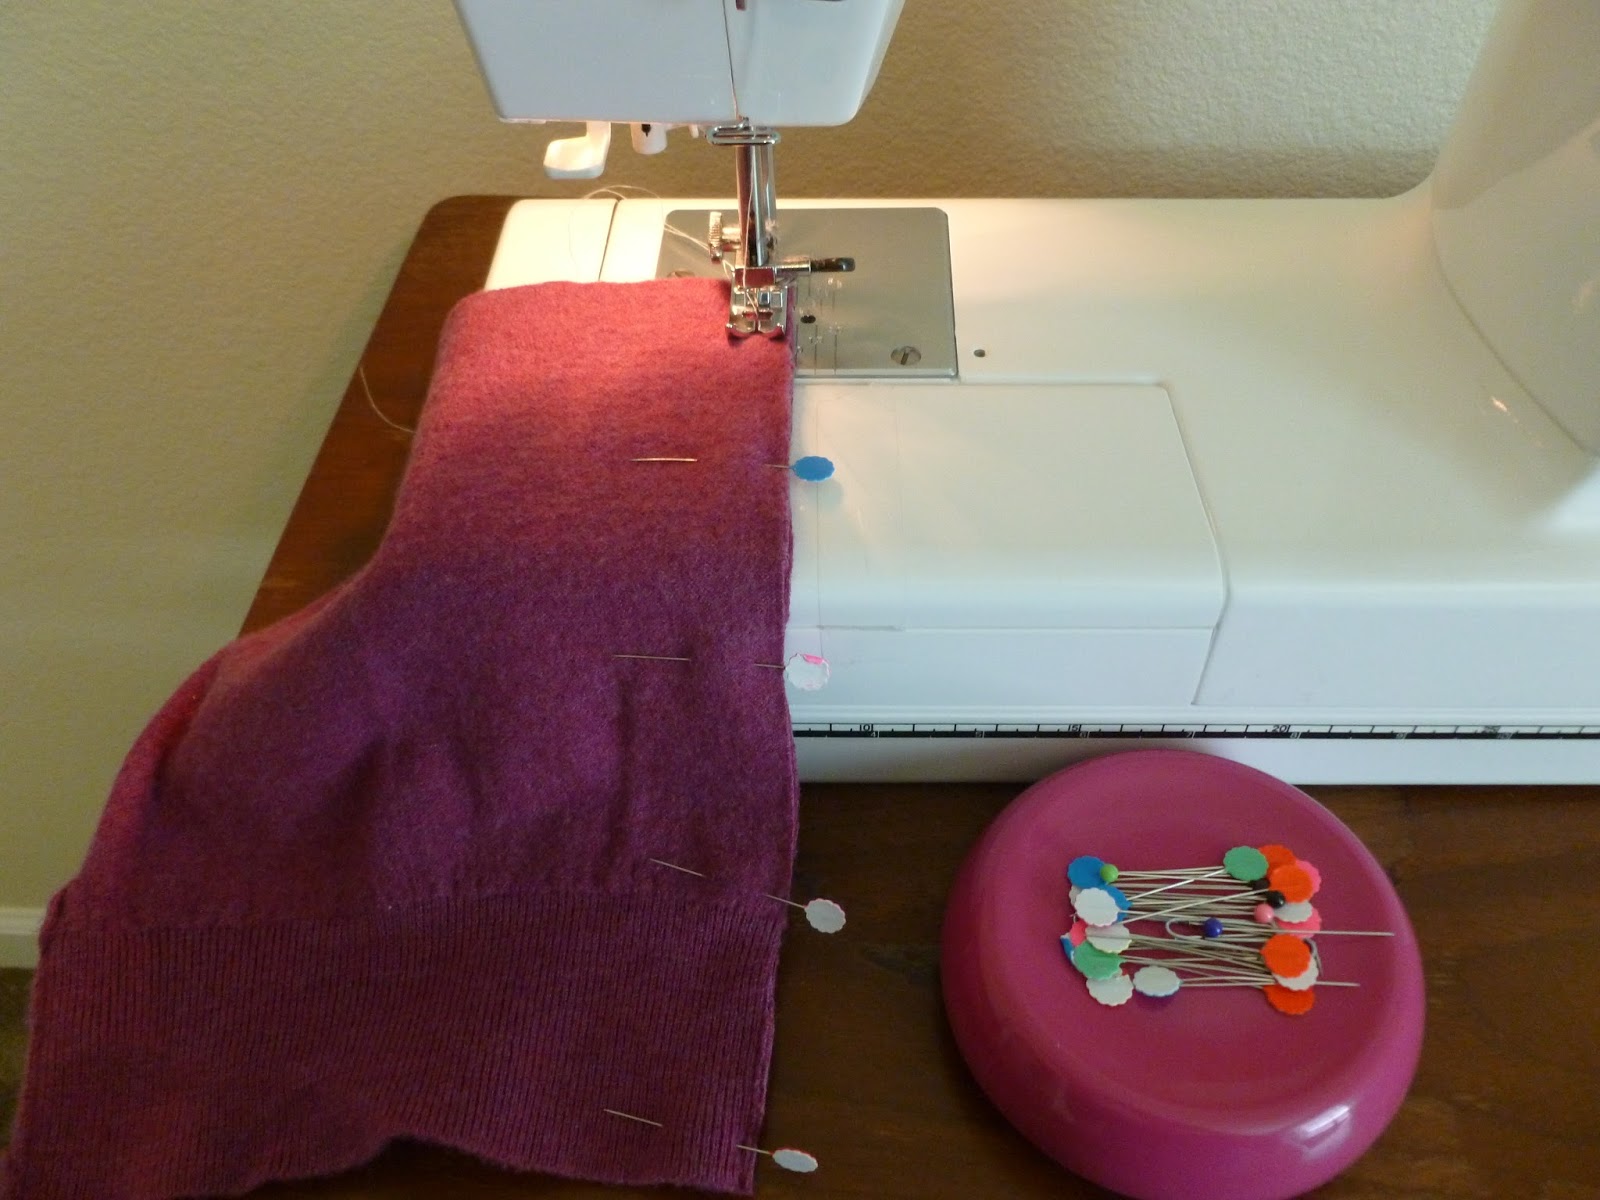
 First, I interfaced my exterior piece, then, with right sides of both pieces facing, sewed one long side of my rectangle. Press open your seam or press to one side.


If attaching a label, now is the time to do that. I put mine on the lining piece.


Now, sew down the other long side of the rectangle with right sides facing. Next, line up the two seams and press.


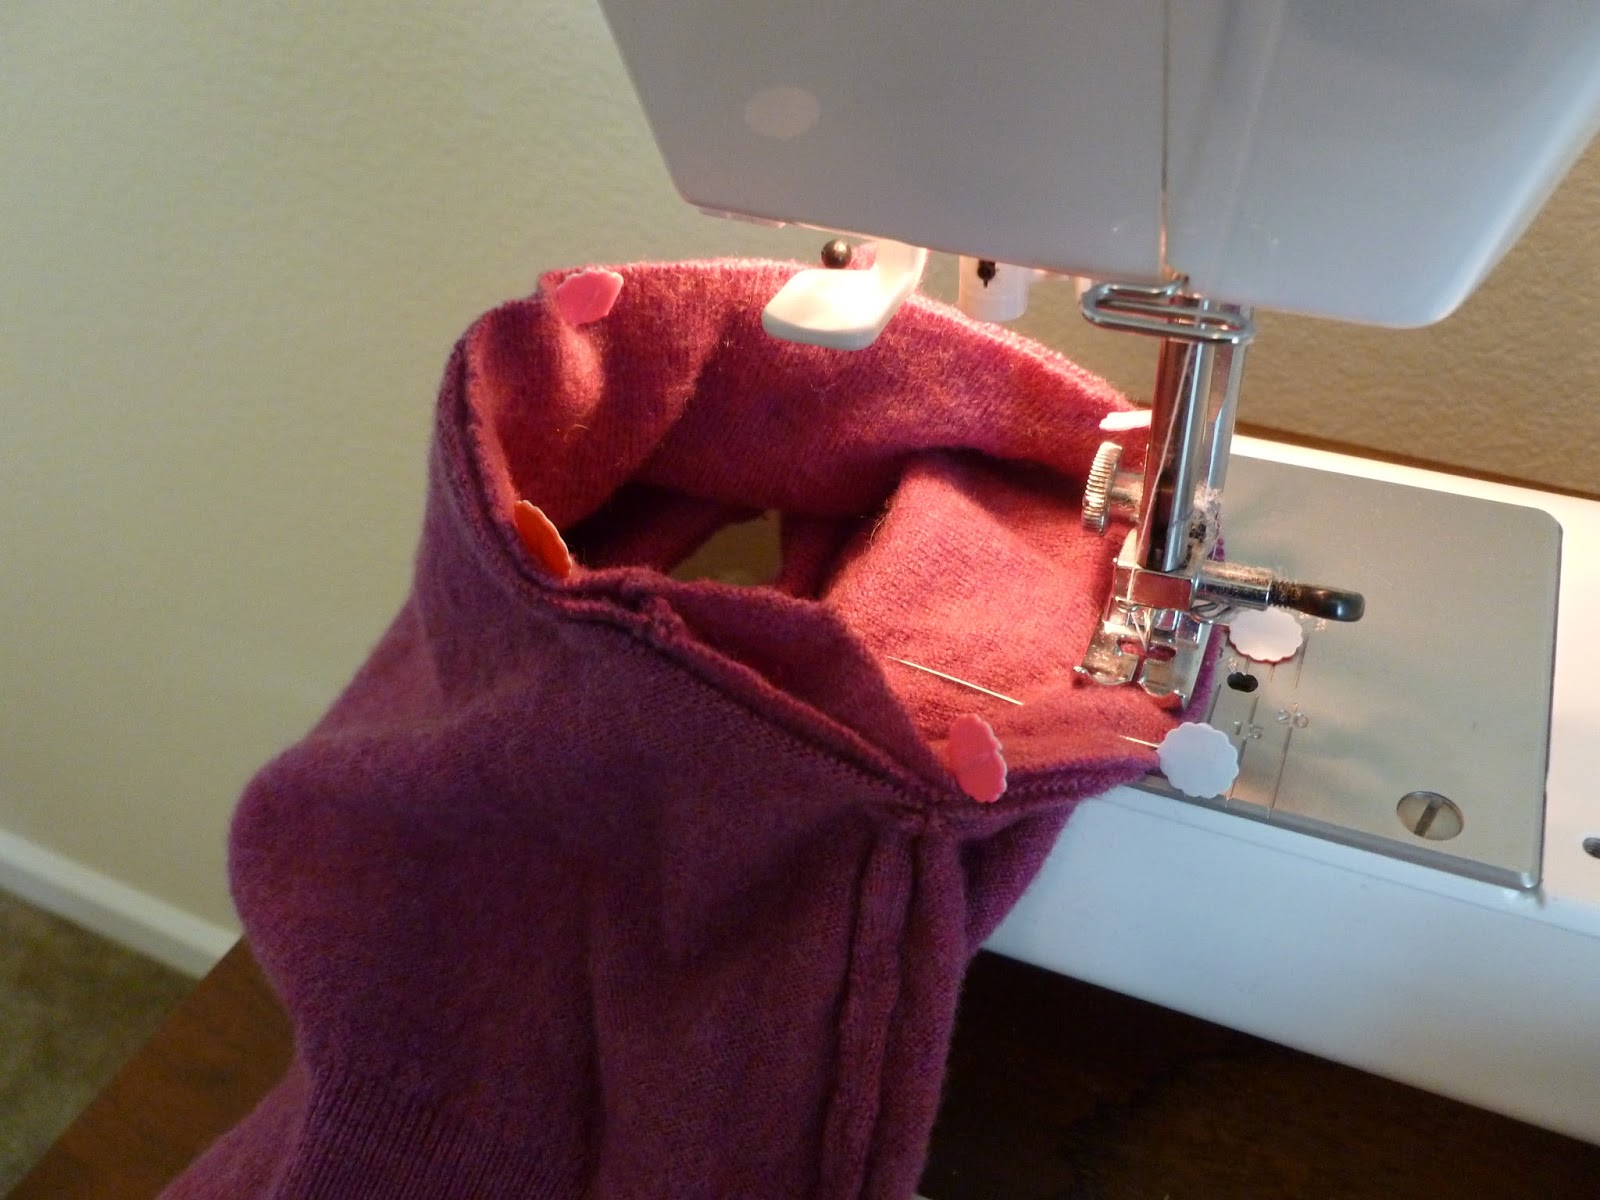
Sew across one short side the entire length, backstitching when you start and stop. On the opposite side, only stitch down your exterior fabric, stopping just past the middle seam as indicated in the picture below. Be sure to backstitch here.


Use your iron and press in the side with the turning hole 1/4 inch. This will make your life easier in a few minutes. 


Now, clip your corners and trim seams. Turn right side out through the opening and press.


Hand-stitch the side opening closed. You could use your machine here, but the hole is so small that it takes no time at all and looks much better this way.


It should look something like this when you're done:


Turn the lining inside  and press.


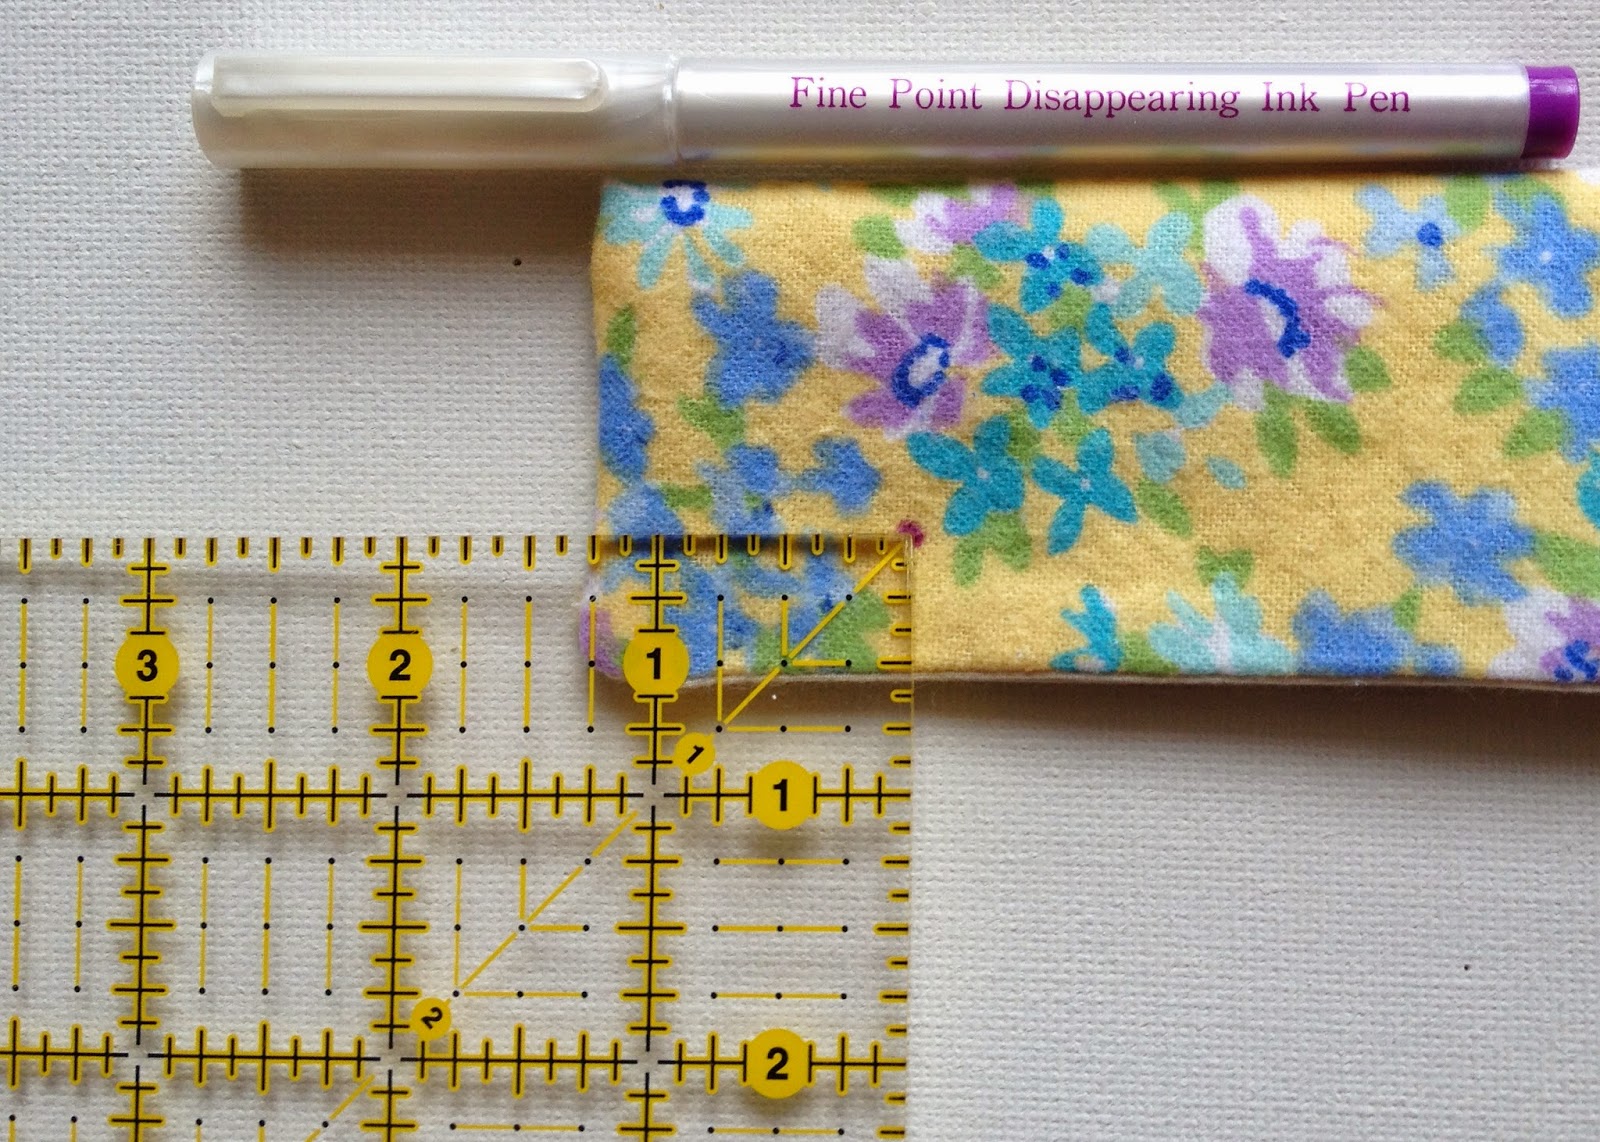
Use a pen to mark where the snaps will go. I used disappearing ink, but it really doesn't matter since it will be covered. I marked 1.25 inches in from the side, and 1/2 inch up from the bottom.


Use your awl to punch holes in the fabric where you marked.


Apply snaps with a snap press. I used size 20 KAM snaps with a KAM snap press. This is a pretty reputable brand, used by most cloth diaper makers. These are easy to find on Amazon and Etsy in all the colors of the rainbow. You can also find similar snaps at most big box craft stores, though the selection is much smaller.


Insert your work-in-progress and enjoy keeping your work nice and tidy!


If you use this tutorial, please tag me on Instagram (@thenomeknitter) or use the hashtag #thenomeknitter
 I'd love to see what you make!

Edited 4/13/16 to add:

Since I posted this tutorial, I have made literally hundreds of these little DPN holders. One tip I have is to cut the lining fabric 1/4 inch shorter than the exterior fabric. Your lining piece would be 7.5 x 4.25 for 6-inch needles. This helps the lining snug up inside a little better. I also recommend applying interfacing to both pieces, my favorite is Pellon SF101. Happy sewing and knitting!

Tuesday, February 10, 2015


I was going to wait until I'd finished knitting this Sockhead hat (free pattern on Ravelry) before posting this, but at this rate, I figured I'd go ahead and post or I never would. I'll try to add an updated picture once I finish. 

I used Jacquard Acid dyes and Knit Picks Bare Stroll Fingering yarn.


I have to give credit to djinnj of YouTube. I watched her video Dyepot Confidential, which gave me the idea. She also has an Etsy shop, Light Brown Hare, where she sells her hand-dyed yarns. 

First of all, I mixed my dye solution. I used 1 teaspoon of dye powder per 1 cup of water. The colors I  used were: Sky Blue (621), Yellow Sun (601), Fire Red (618) and Jet Black (639). I used white vinegar to set the dye. 

I used an old medicine dispenser to measure out the dye solution using ml. 

I twisted the yarn into a 2.25-yard skein and left it like this during soaking and also during the first step of the dyeing.

1. I added 20 ml of yellow to the dye pot.


After applying the yellow, I gently squeezed out the water, untwisted the skein, and retwisted it so some of the un-dyed yarn was exposed. 

2.) I added 16 ml of red. In my notes, I wrote this was too much, maybe half this amount would suffice. Probably because the dye water never turned clear. Because of this, I changed the water before adding the next color. 


I removed the skein, squeezed it out, untwisted, then I gently tied 3 slipknots.

3.) I added 30 ml of blue to the pot. 


My pan is shallow, and the water doesn't cover all of the yarn.

After removing the yarn from the blue pot, I squeezed it out (gently, of course!) untied the slip knots, and retied it into a single overhand knot. 

4.) Finally, I added 30 ml of black to the pot. I wrote in my notes maybe 20 ml would have sufficed. Always better to add less in the beginning because you can't take it away later. 


As you can see, not all of the yarn is submerged. I honestly can't remember if I stirred it a bit or left it this way. 

Before and after the addition of black:


That's how I did it. Cheers!


Wednesday, November 13, 2013

Upcycled cloth wipes from receiving blankets


If you are planning to use cloth diapers, you might as well use cloth wipes. They are easy to make, economical and so good at cleaning up messes. It's like using a washcloth versus a wet paper towel. 


Take any flannel receiving blanket and cut it evenly into four strips.


Then cut each strip evenly into four pieces.


Now take them to your sewing machine and use a zig-zag stitch to secure the edges so they won't ravel.  


The great thing is that the wipes cut from the outer edges of the blanket will already have two edges done for you.


You can also make some wipes that are double thick for those really messy jobs. Just take two flannel pieces and sew with right sides together leaving a small hole for turning.


Clip the corners.


 Turn right side out. I used a knitting needle to push out the corners.


Press.


Top stitch around the wipe which closes the hole you used to turn it.


Ta-Da! Wipes galore.


There are a ton of homemade wipe solution recipes online that you can look up. Personally, I just use good old soap and water. Sometimes just warm water. My daughter has rarely gotten any kind of diaper rash, and it's usually been so mild that it's never last any longer than 24 hours.


Happy wiping!


Thursday, August 22, 2013

Up-cycled Wool Diaper Cover Tutorial


I'd like to share with you how I made this wool diaper cover from an old sweater and without using a pattern. Some things you'll need:

1. 100% wool sweater 
2. sewing machine
3. scissors or rotary cutter and board
4. ruler
5. brains
6. cute baby

First thing you want to do is take your baby's measurements at the waist, thigh and rise (from belly button down between their legs to the point opposite the belly button on their back.) I took these measurements over the cloth diaper and cover she was wearing. You definitely want to factor in the bulk that you'll be covering.

My baby is eight months old and about 20 lbs. These were her measurements:

Waist: approx. 18 inches 
Thigh: approx. 11 inches
Rise: approx 15 inches


First, find an old, 100% wool sweater. This was in my closet, but thrift stores are a great place to look. If you find a sweater that's accidentally been thrown in a washer and dryer, even better. 


Next, you need to figure out how far from the bottom of the diaper to cut. If you want the finished rise of your cover to be 18 inches, cut 9.5 inches off the bottom of the sweater. Simply divide the rise in half and add .25 to .5 inches for a seam allowance. 


You should now have a tube.

The great thing about using an old sweater is that a lot of the finishing is already done for you. See the ribbed band that was the bottom of the sweater? We're going to use this as our waist band. We're also going to take advantage of the side seams as well. 

You want to cut a piece that equals half of your baby's waist measurement. Remember that knit material is pretty stretchy, so it's okay to cut it a little less than half. 

I actually cut my piece right in half because I got two pieces each about 7 inches wide, and now I'll be able to make two covers from one sweater. 


Next I turned it right sides facing, and sewed a straight line down the cut side with a quarter-inch seam allowance.

 (Edited 3/1/15: I sewed this cover using a straight stitch, which ended up working just fine. However,   as this is a knit material, it is ideal to use the elastic stitch setting if your machine has one. A serger would be the best option, but I don't have one just yet. If you do use a straight stitch, realize that it will have no give and the stitches will be prone to tear if you try to stretch the fabric much after sewing. I was still able to use my cover just fine, but I did eventually have to repair a hole after the stitching broke in one place.)


Now it looks like a tiny skirt.


One more measurement to take: the width of baby's diapered crotch. Mine was four inches and I marked this on the bottom with chalk. You should also add seam allowance to this; I forgot, but it didn't make too much of a difference. 


Next, I used half the thigh measurement to determine the length of the leg opening. You can use a string or flexible tape measure to lay on your fabric to make sure your line is the correct length. I just freehanded it.


Fold the piece in half and trace the line with a rotary cutter.


Sew the crotch shut.


Next, cut off both sleeves at the seam. 


Trim the top.


Now, if you can, find a place on the sleeve that matches half your thigh measurement. Cut out a piece about 4 inches wide. 


Take the tube you just cut and fold it so the wrong sides are together. 


 Pin to the outside of your  leg opening and sew. 


Or you can turn the soaker inside out and pin to the inside and sew. I actually found this way to be easier.


All this cover needs is to be lanolized, and you are done! 

Some actions shots:


I love how thin and comfy the waist band is. She's wearing this over a flat diaper secured with a Snappi. 


A bit of her diaper is poking out the top of the back, but since this hardly ever gets wet, I'm not worried about it.